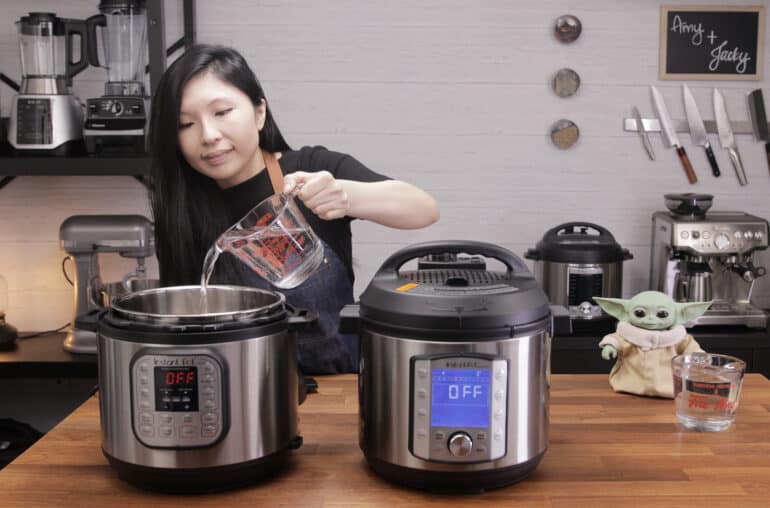
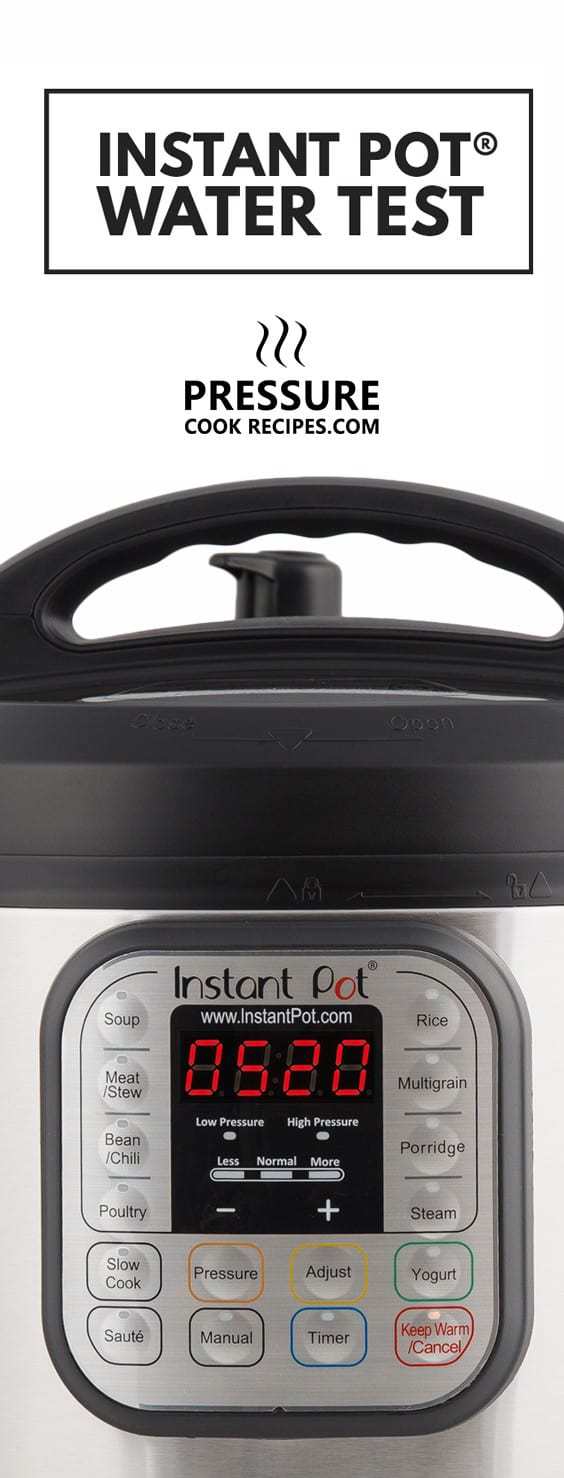
If you’re looking for how to use Instant Pot for the first time, start with the Instant Pot Water Test! This initial test run helps you familiarize yourself with how the Instant Pot Pressure Cooker works. We’ll show you how to do the water test for Instant Pot Duo and Instant Pot Duo Evo Plus.
If you still haven’t subscribed to our free weekly newsletter, subscribe now for more useful tips and recipes. Link: Subscribe for Free Recipes & Tips
Click on the Instant Pot Water Test Video below to see it in full action or follow the step by step instructions. 🙂
Let’s Start the Instant Pot Water Test!
Step 1: Water Test Safety Checkup
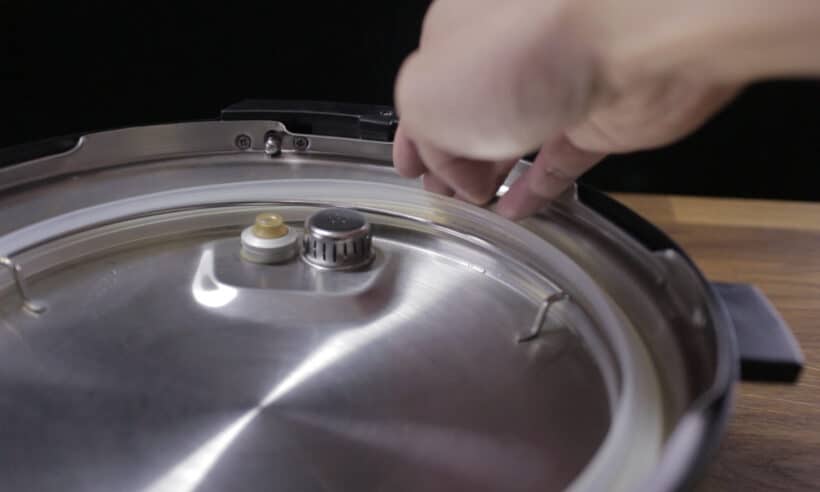
Before we start the Instant Pot Water Test, we’ll do a safety checkup on the Instant Pot Lid. Check to make sure the silicone sealing ring is seated correctly on the lid.
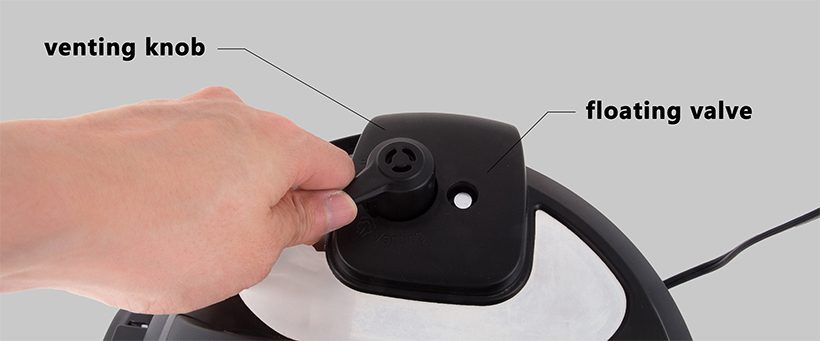
Make sure nothing is blocking the venting knob and floating valve.
Step 2: Add Water
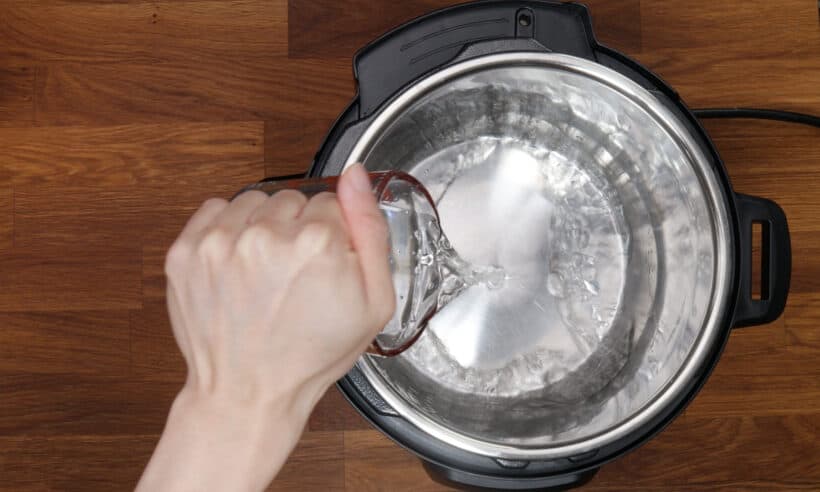
Always make sure the stainless steel inner pot is inside the cooker base.
Now, pour 2 cups (500ml) – 3 cups (750ml) of cold water in the Instant Pot.
Step 3: Close Instant Pot Lid
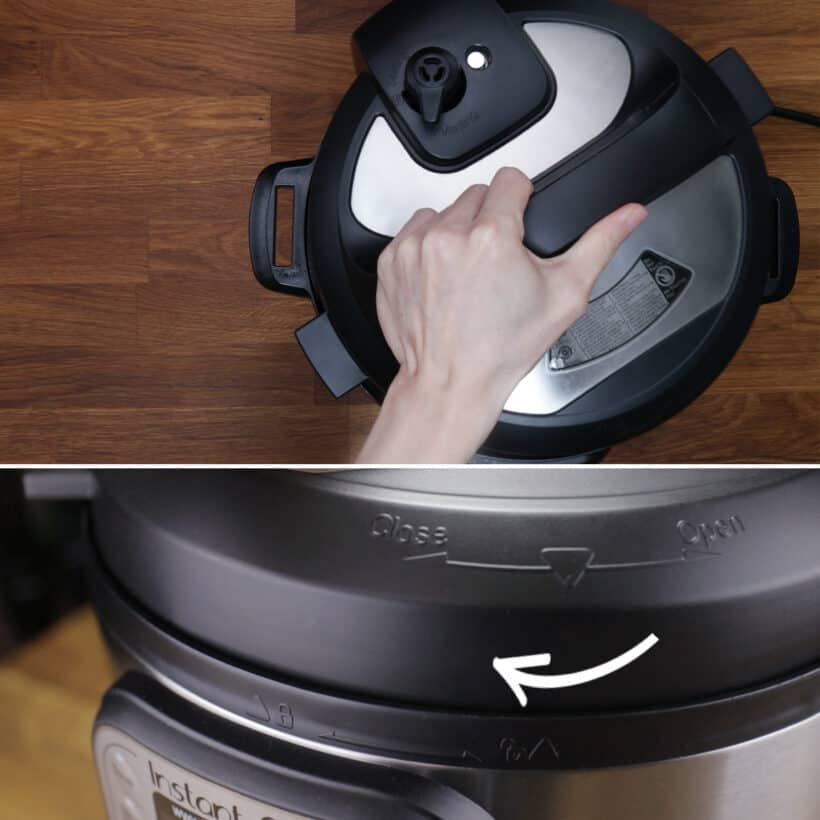
You can close the Instant Pot lid by lining the two arrows (see picture below) and turn the lid in a clockwise direction.
Step 4: Seal Instant Pot Lid
Instant Pot Duo: Turn venting knob from Venting Position to Sealing Position.
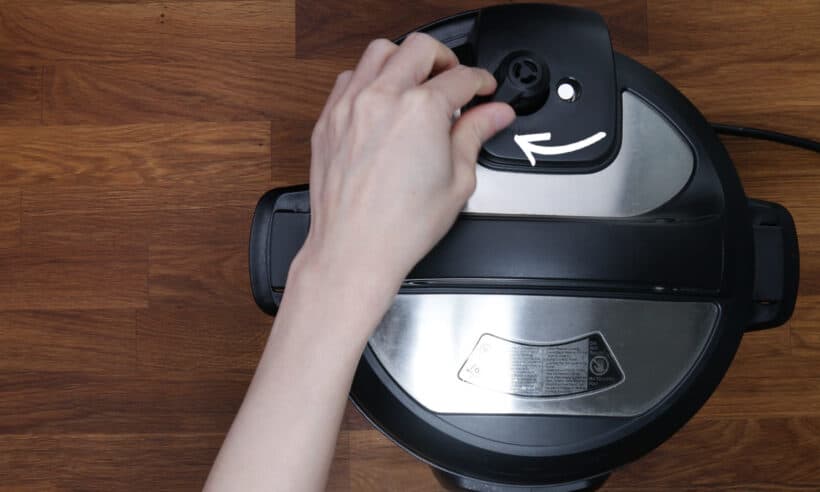
Instant Pot DUO EVO Plus: The newer Instant Pot lids will automatically seal on its own.
Step 5: Initiate Test Run – Set Cooking Time
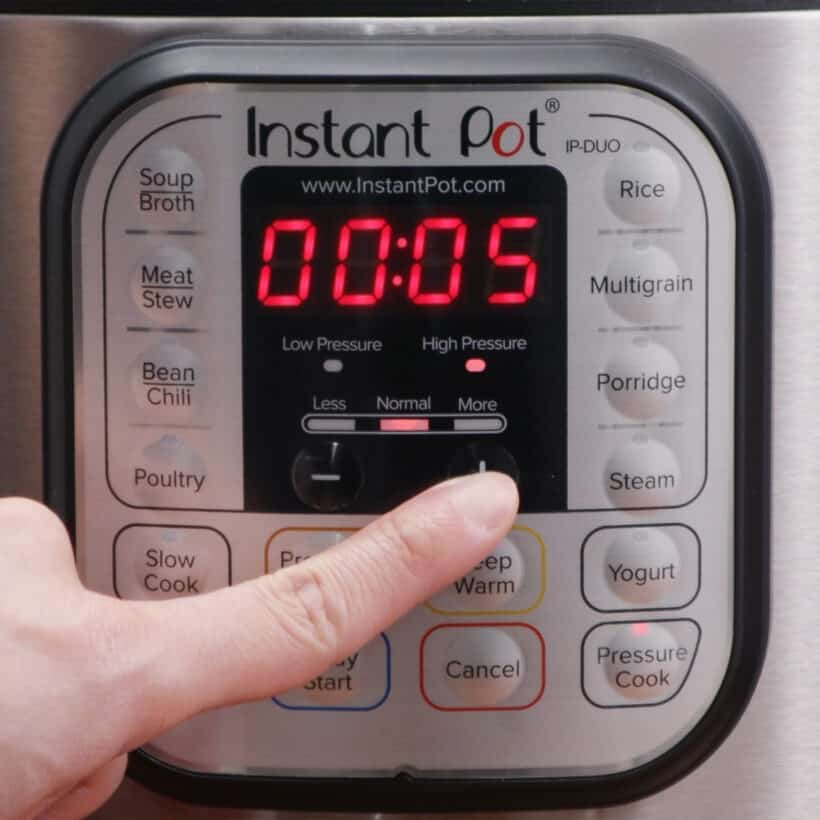
Instant Pot Duo
Press the “Pressure Cook” Button (“Manual” button for older models).
Adjust the cooking time by pressing the + or – buttons until the indicator says “5”. This means we’re setting the pressure cooking time to 5 minutes.
The indicator will change from “5” to “On” in about 10 seconds.
*Pro Tip: You can press and hold the + or – buttons.
See the red light under High Pressure? High Pressure is the default pressure setting.
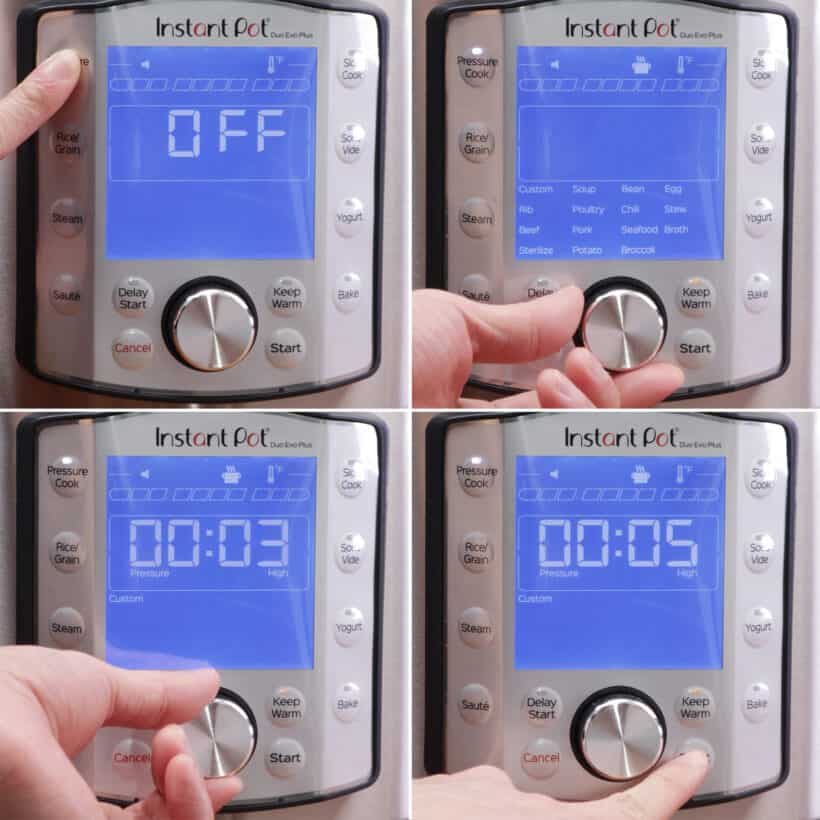
Instant Pot Duo Evo Plus
Press the “Pressure Cook” button.
Choose “Custom” mode by pressing on the dial.
Adjust the cooking time to 5 minutes by turning the dial until the indicator says 5. It means we’re setting the pressure cooking time to 5 minutes. Then, press the “Start” button.
Step 6: Preheat Cycle
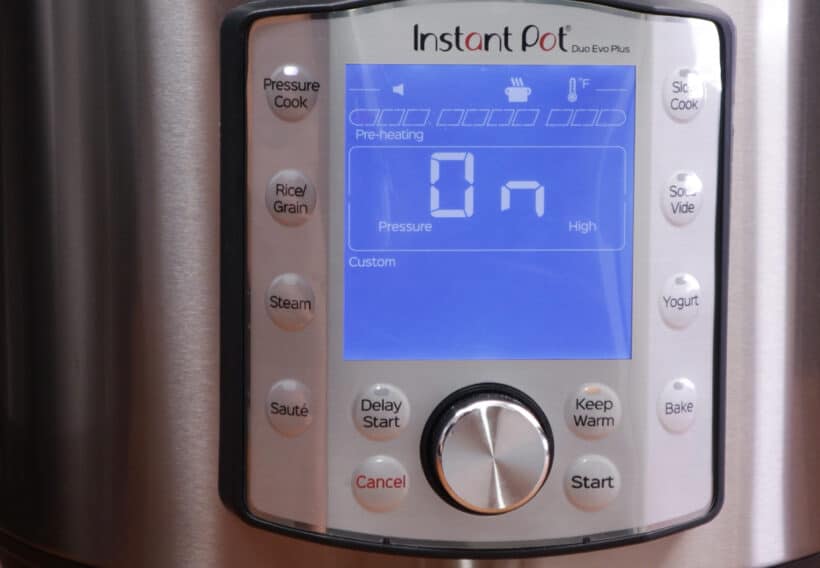
When the Instant Pot indicator says “On”, It means the Instant Pot has started the preheating cycle. Water is heating up to generate steam.
For this Instant Pot Water Test, it’ll take roughly 13 minutes to reach High Pressure.
Step 7: Generate Steam
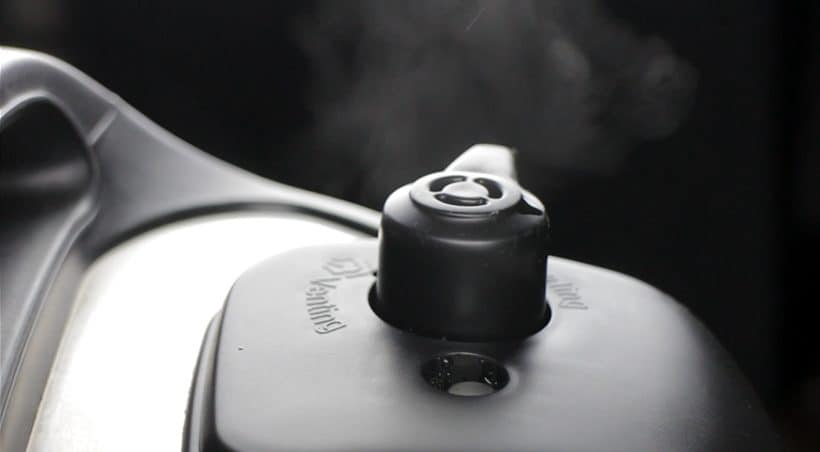
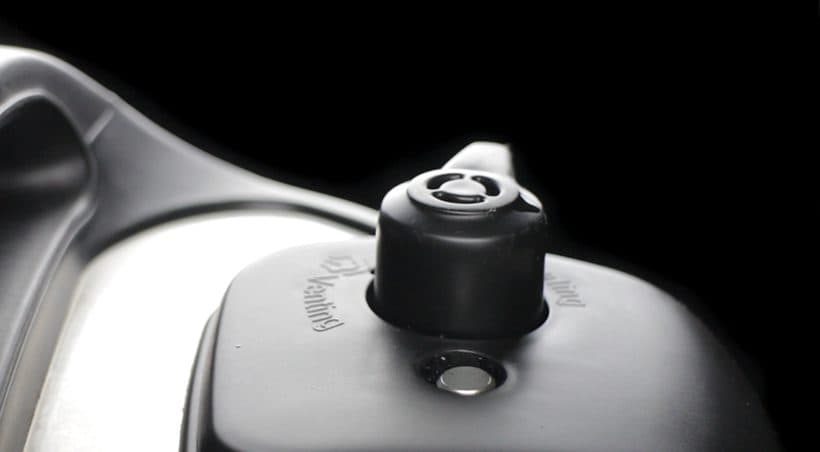
It’s normal for steam to come out of the floating valve during the preheating cycle.
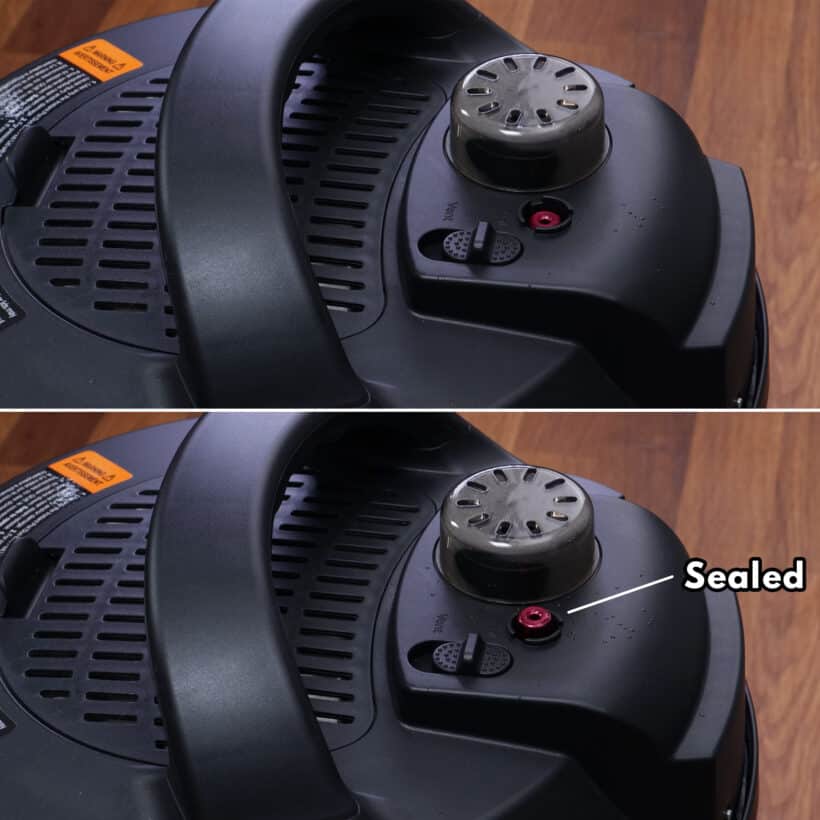
Once there’s enough steam in the Instant Pot Duo, the floating valve will pop up and seal the Instant Pot. It’ll begin to build pressure inside the Instant Pot.
This is what it’ll look like for the Instant Pot Duo Evo Plus Model.
Step 8: Pressure Cooking Cycle
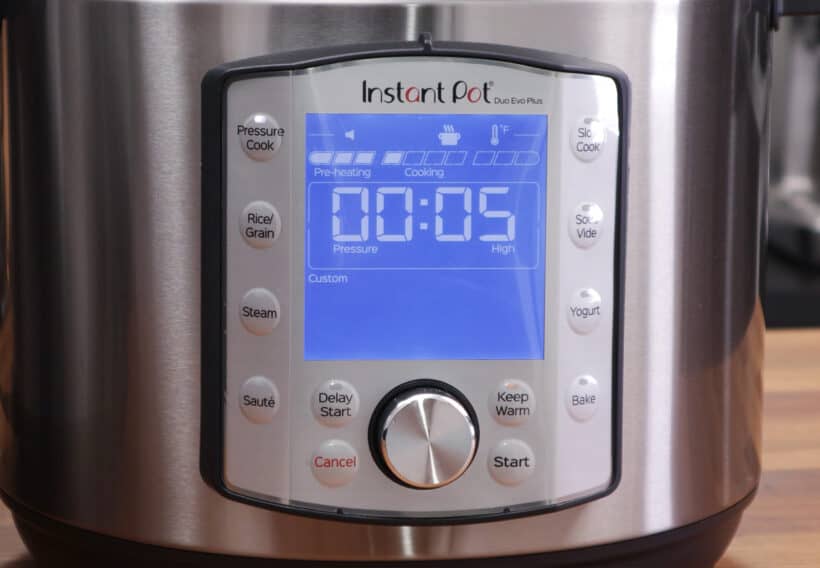
Once the Instant Pot has reached High Pressure, the indicator will change from On to 5. This means the pressure cooking cycle has started and it will pressure cook for 5 minutes.
Step 9: Keep Warm Mode
After the 5-minute pressure cooking cycle, Instant Pot will automatically enter the “Keep Warm” mode.
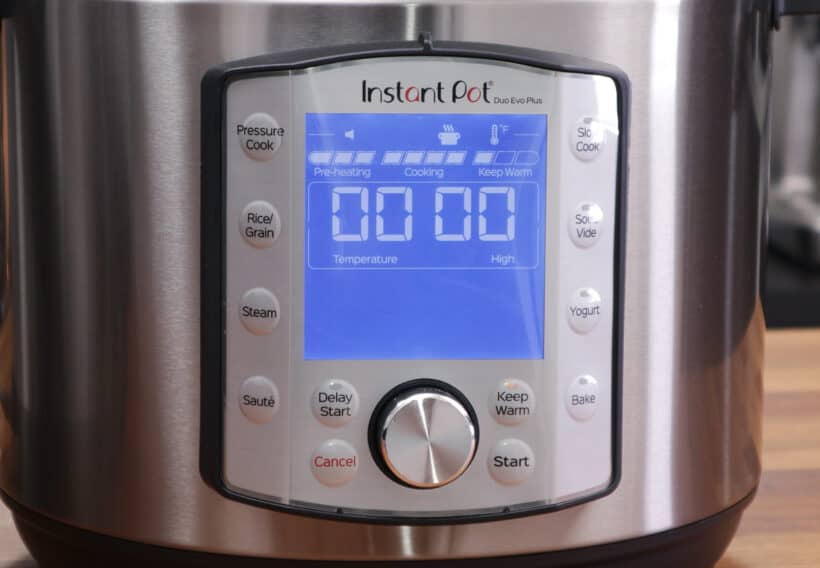
Press the red Cancel button to turn off the Instant Pot.
Finally, the indicator will switch to “OFF”.
Step 10: Release Pressure
At this point in the Water Test for Instant Pot, you’ll need to release the pressure before opening the lid.
Instant Pot Duo: Turn the Venting Knob from the Sealing Position to the Venting Position.
Instant Pot Duo Evo Plus: Push the Quick Release Switch from the Sealing Position to the Venting Position.
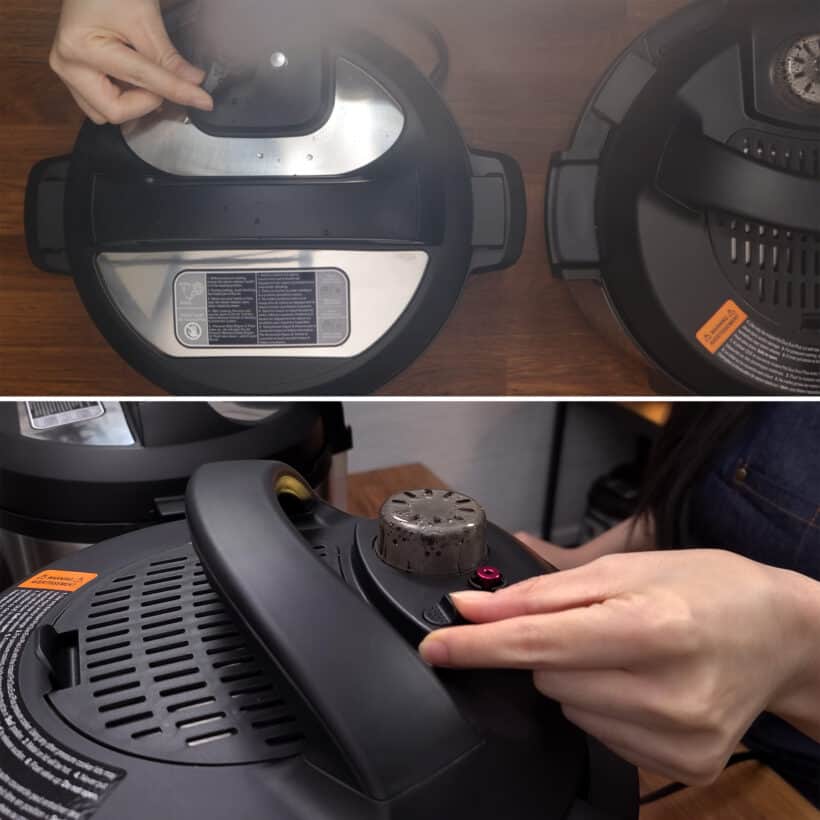
Once the floating valve has dropped, carefully turn the Instant Pot lid in a counter-clockwise direction to open.
You’ve passed the Instant Pot Water Test!
Instant Pot Water Test Video
Read Next: How to do Quick Release vs Natural Release?
All Our Pressure Cooker Recipes
*Disclosure: We are an Amazon Influencer/Amazon Associate. This means that if you decide to purchase items or services on Amazon through our links on Pressure Cook Recipes to Amazon, Amazon will send a small commission to us at no additional costs to you. Thank you!
