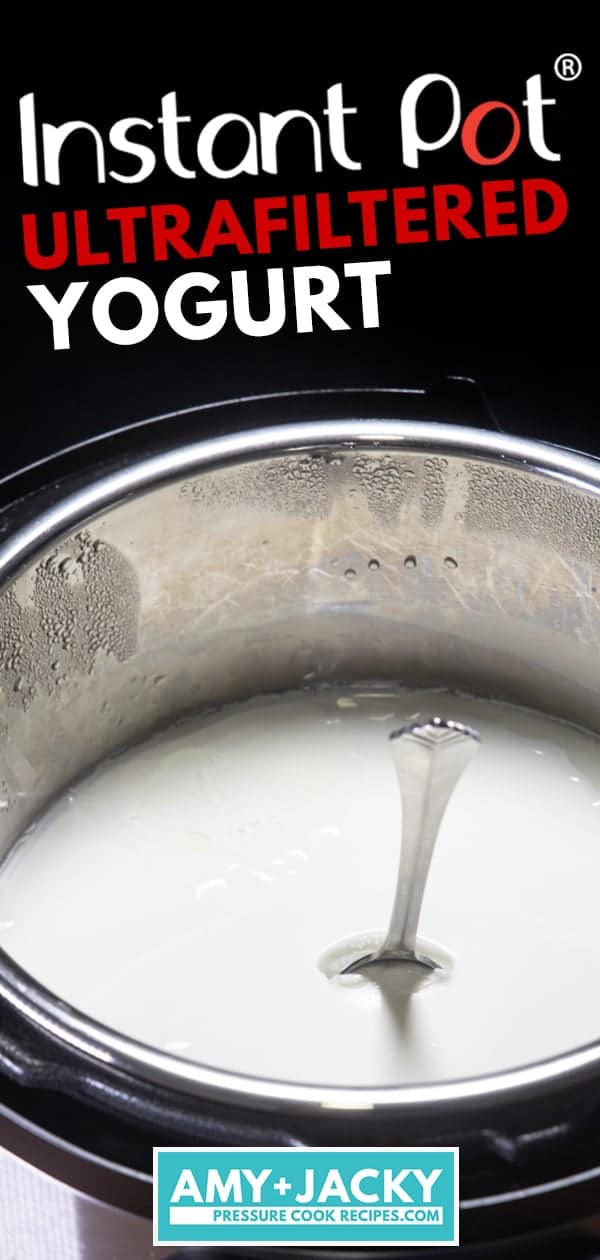
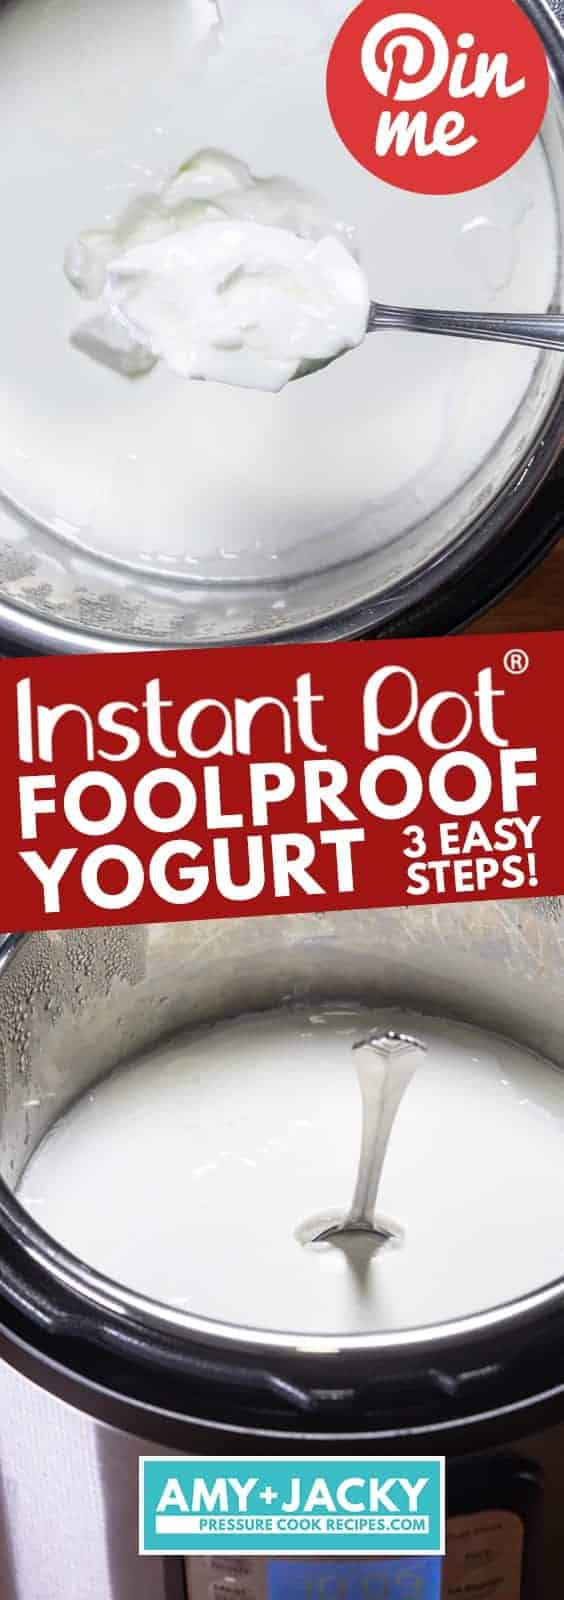
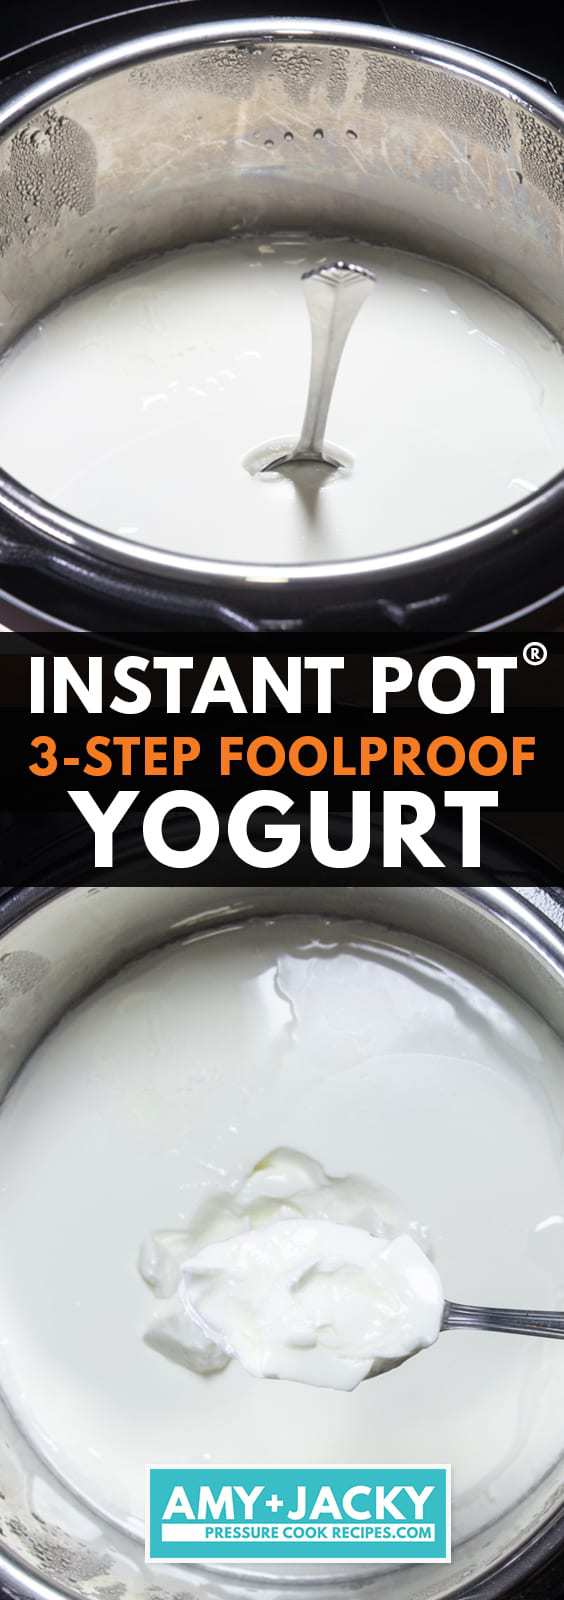
Super Easy No Fuss Foolproof Shortcut to make Instant Pot Yogurt in 3 Steps! Instant Pot Ultra Filtered Yogurt or Instant Pot Cold Start Yogurt (No Boil Yogurt) Method makes Thick & Creamy Smooth Homemade Yogurt. A healthy breakfast or snack.
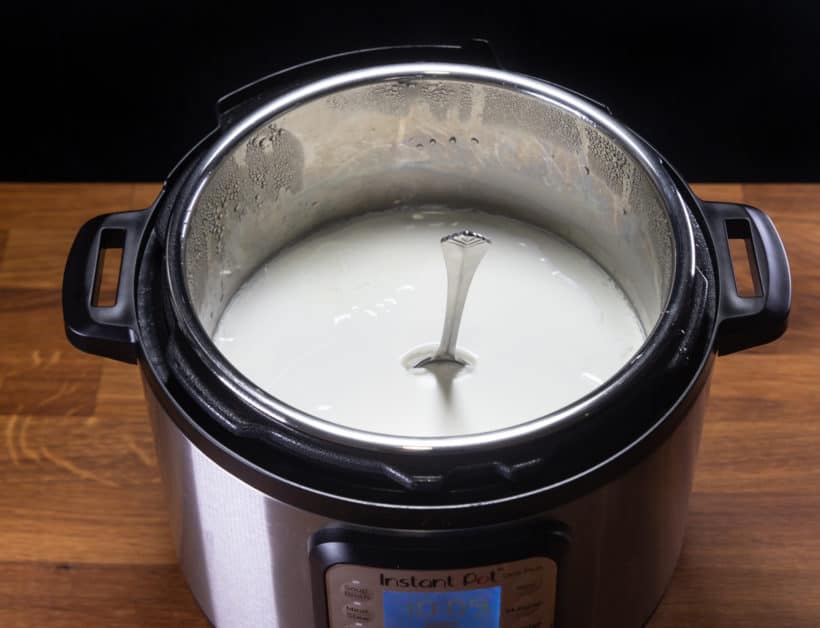
One of the most amazing features of the Instant Pot Multicooker is how easy you can make Homemade Yogurt!
It’s always exciting to hear how readers from around the world have successfully made Instant Pot Yogurt using the traditional boiling method. 🙂
But wait!! Did you know there’s an even easier shortcut to making homemade yogurt in Instant Pot?!
Behold the Instant Pot Cold Start (No Boil) Method.
Super Easy . No Fuss . Foolproof
3 Easy Steps to Make Instant Pot Yogurt:
Heat Milk to 180°F – 200°FCool Milk to 105°F – 114°F- Add Yogurt Starter to Ultrafiltered Milk
- Incubate Yogurt – wait for it to set
- Refrigerate & Strain Yogurt if desired
With the Cold Start or No Boil Method, you can simply eliminate Step #1 & Step #2 from the traditional yogurt making method!! ohhh yesss!!! 😀
The only requirement is using Ultra-filtered Milk.
Foolproof Tips for Instant Pot Cold Start Yogurt
1. Use Only Ultra-Filtered Milk
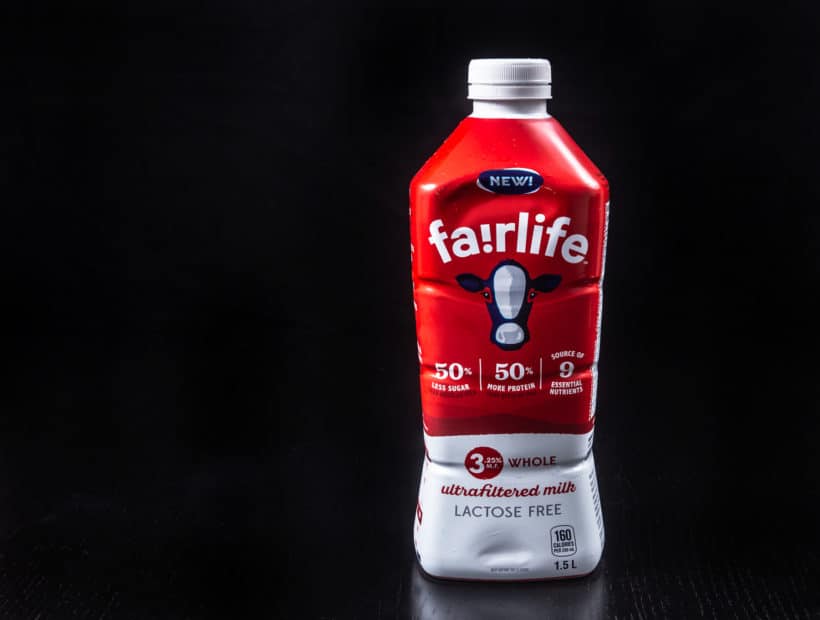
Ultrafiltered Milk (UF milk) aka diafiltered milk is regular milk that has been processed through an ultra-filtration process.
This filtration process creates a type of milk that has more Protein, more Calcium, less Sugar, and lactose free compared to regular milk.
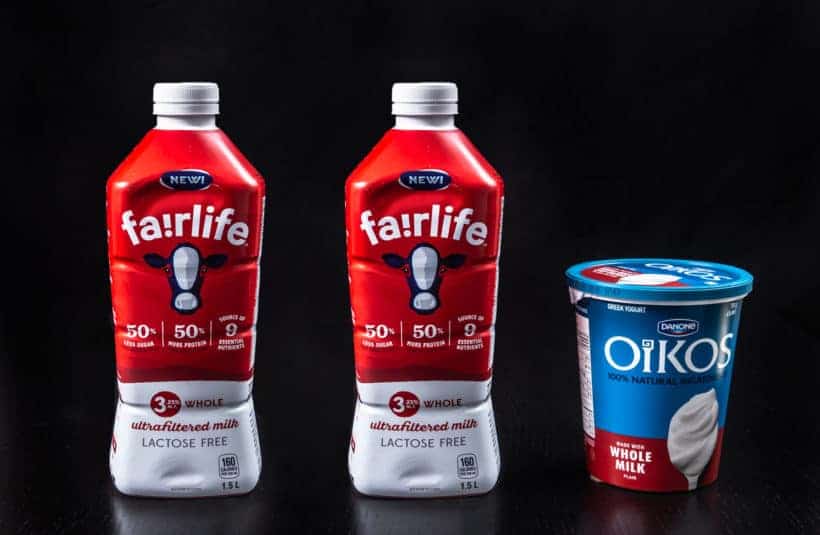
We are using Fairlife Ultrafiltered Milk to make this Instant Pot Cold Start Yogurt or No Boil Yogurt.
*Critical Pro Tip: This cold start or no boil method will not work with regular milk.
Use Whole Milk
The type of milk you use will determine the thickness and creaminess of your homemade yogurt.
After testing the Instant Pot Yogurt Recipe with 2% Milk, 3.25% Milk and 3.8% Milk, 3.8% Whole Milk with the highest milk fat content produced the thickest and creamiest homemade yogurt.
Since Fairlife currently offers Skim Milk, 2% Partly Skimmed Milk, and 3.25% Whole Milk, we’re using 3.25% Whole Milk to make this Instant Pot Cold Start Yogurt. 😀
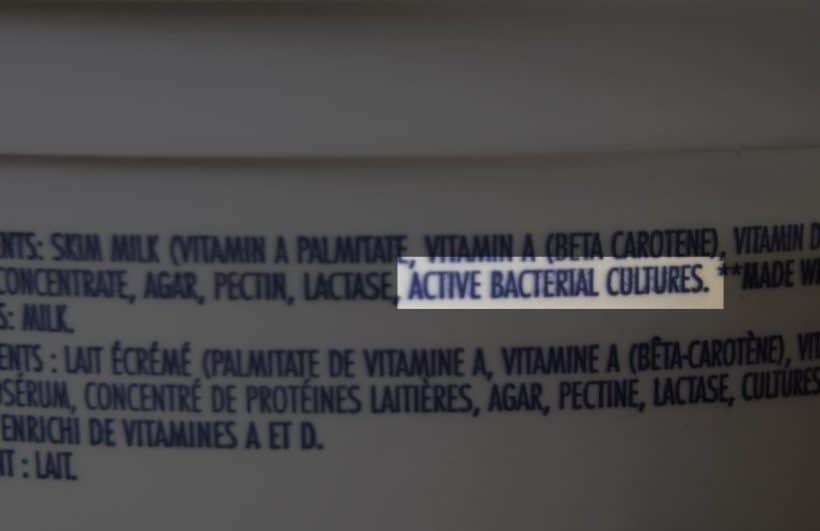
2. Yogurt Starter Must Have Active Bacterial Cultures
Beware that not all yogurt works as yogurt starters!!
It’s critical for you to check the ingredient list of the store-bought yogurt when you’re shopping for a yogurt starter. It must have active bacterial cultures for it to work as the yogurt starter.
A live culture usually contains at least 2 types of bacteria (L. bulgaricus and S. thermophilus).
*Pro Tip: The homemade yogurt’s consistency and taste will vary depending on the type of bacteria cultures in the yogurt starter. Sometimes, it does make a big difference! So, choose the brand you like best for the most consistent result. However, keep in mind that you will get plain yogurt no matter what flavor or type of yogurt you use.
3. Incubation Time
Longer incubation time = Tangier yogurt
You can open the lid for a taste test once the yogurt is set (roughly 6:30 hours).
4. Do Not Disturb
Don’t disrupt the fermentation process by moving the Instant Pot or opening the lid. Wait until it is set (roughly 6:30 hours) before opening the lid.
5. Best Time to Start the Instant Pot Yogurt Process?
We like to start the process before we go to bed, so when we wake up, the fermentation process is done, and party’s over!
But if you don’t need your Instant Pot for cooking during the day, you can start anytime as long as it’s 10+ hours before you sleep. Or else you’ll either have to stay up late, wake up early, or end up with ultra tangy yogurt.
Step-by-Step Instant Pot Cold Start Yogurt Guide
Only 2 ingredients to make this Instant Pot Cold Start Yogurt 🙂
Optional Preparation – Equipment Sterilization
This is an optional step. We have done this recipe successfully with or without this step.
- Place 2 cups of cold water and a trivet in Instant Pot.
- Place all yogurt making equipment – silicone spatula or whisk, Pyrex glass measuring cup, and tablespoon measuring spoon in Instant Pot.
- Close the lid and move the Venting Knob to Sealing Position.
- Sterilize everything at High Pressure (press Manual/Pressure Cook button) for 3 minutes + Natural Release.
- After sterilizing the equipment, air dry them on a clean rack.
*Plastic Tools or Equipment: Do not sterilize any tools or equipment with plastic or wooden handles.
Prepare Yogurt Starter
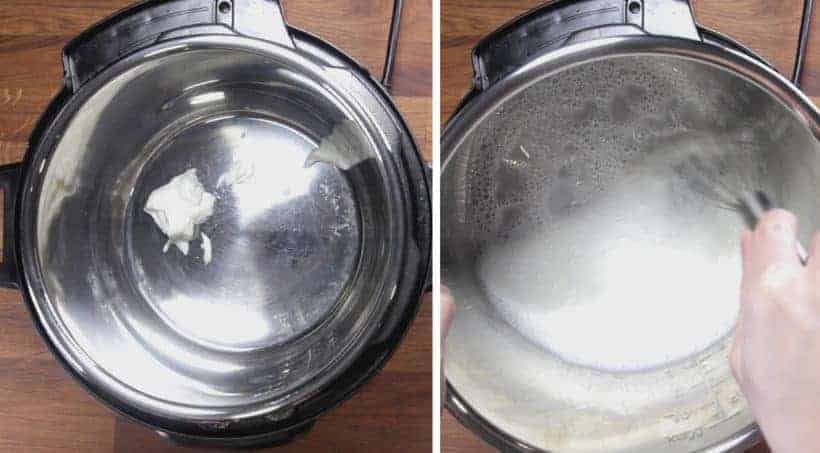
Add 2 tbsp (32g) Yogurt with Active Bacterial Cultures and 1 cup (250ml) ultrafiltered milk in Instant Pot’s inner pot.
Use the whisk to mix well.
Make Instant Pot Cold Start Yogurt
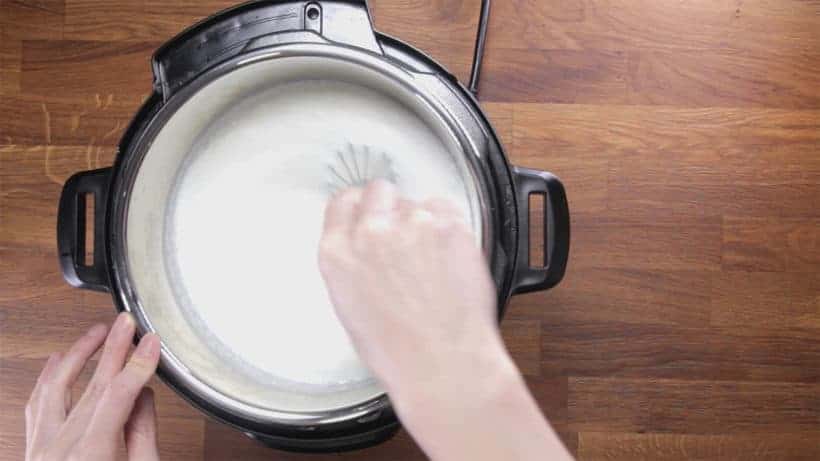
Pour 7 cups (1750ml) ultrafiltered milk in the inner pot. Use the whisk to mix well.
Close lid (Venting Knob position doesn’t matter).
Yogurt Incubation:
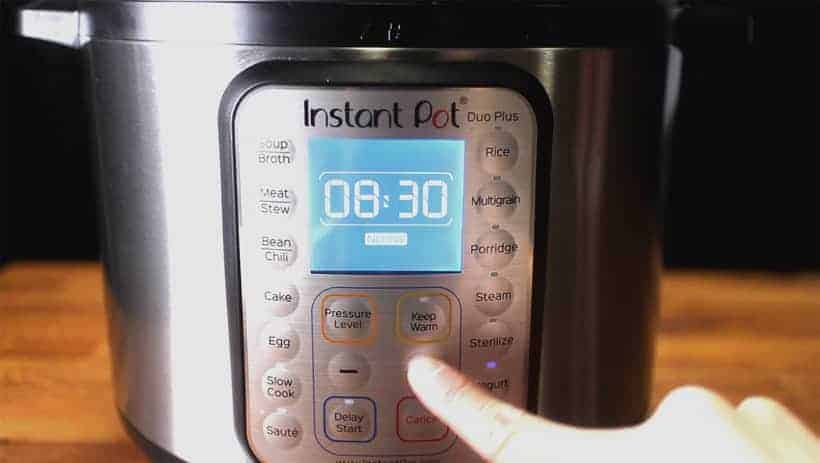
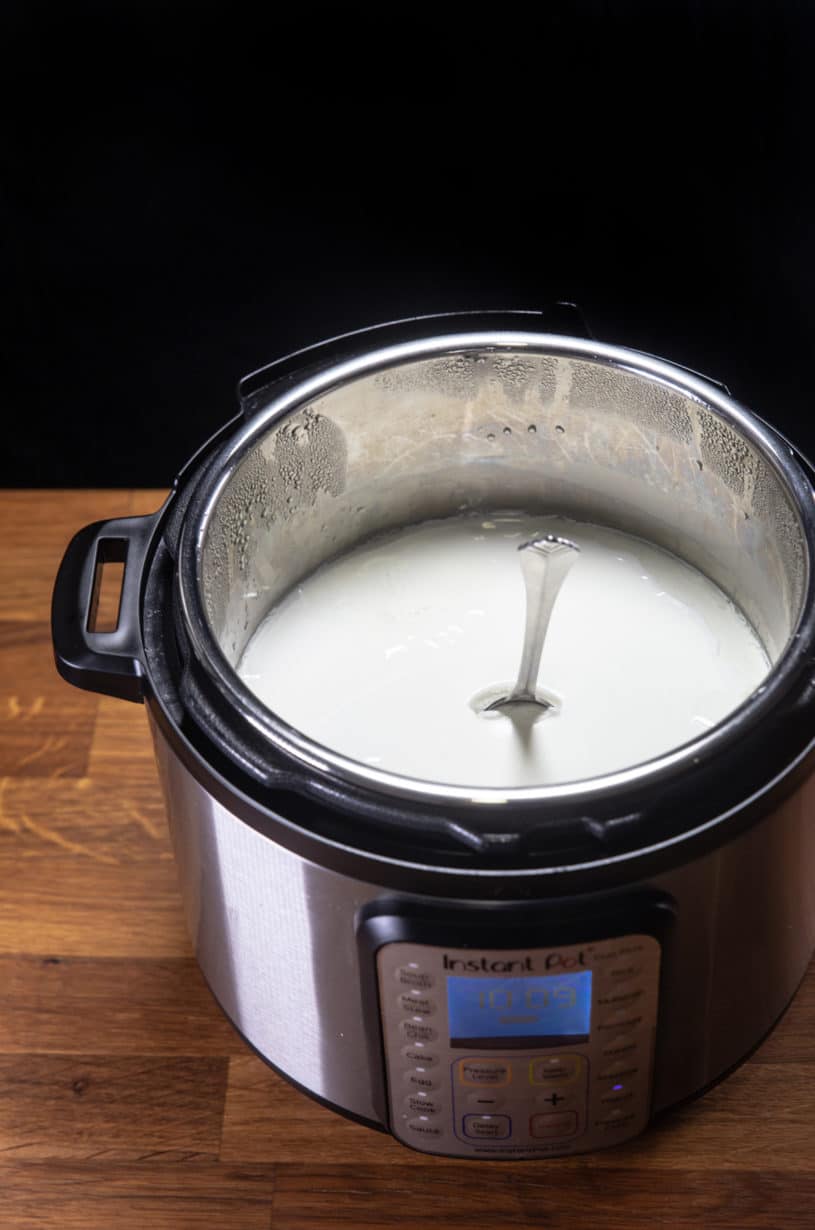
- Instant Pot Function: Press the Yogurt Button & use the Yogurt Normal Function to incubate the yogurt.
- Time: Adjust the time to 8:30 hours – 12:30 hours depending on how tangy you like your yogurt
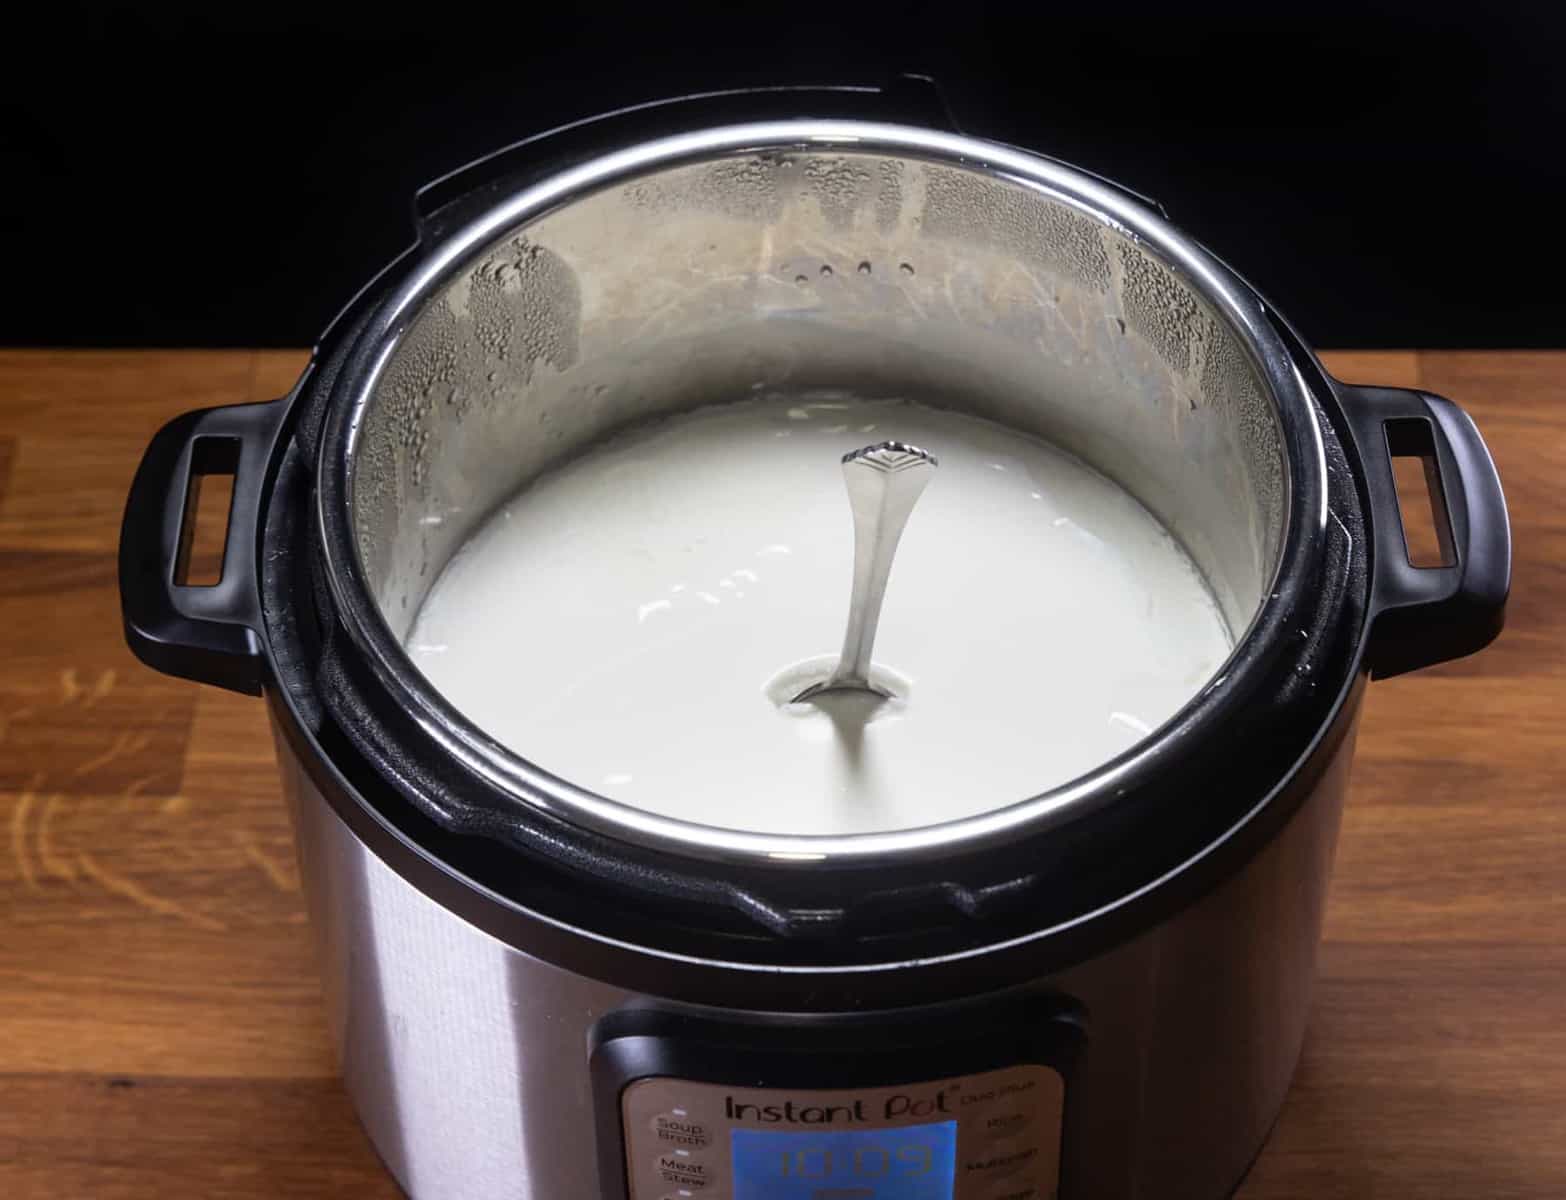
You can open the lid for a taste test once the yogurt is set (roughly 6.5 hours).
*Pro Tips:
- Longer incubating time = Tangier yogurt
- The timer will count up instead of count down when the incubating process begins.
- Don’t disrupt the fermentation process by moving the Instant Pot or opening the lid. Wait until it is set (roughly 6:30 hours) before opening the lid.
Stop the Incubating Process
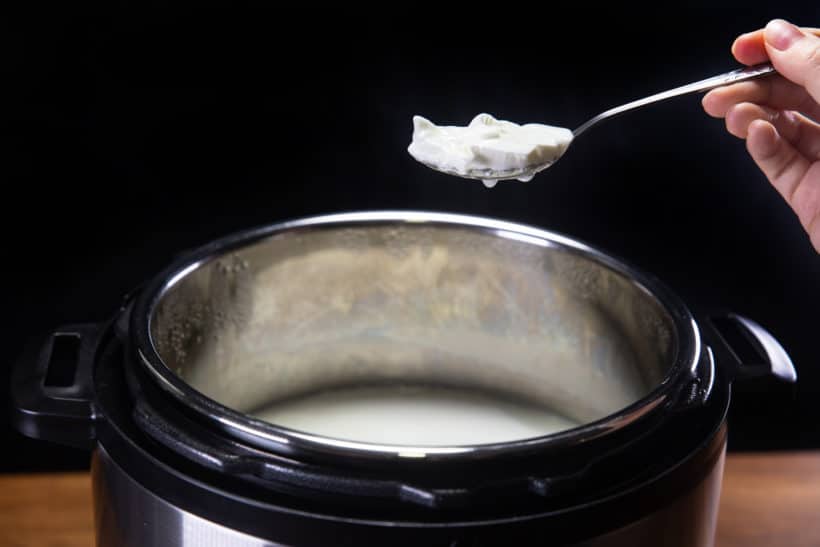
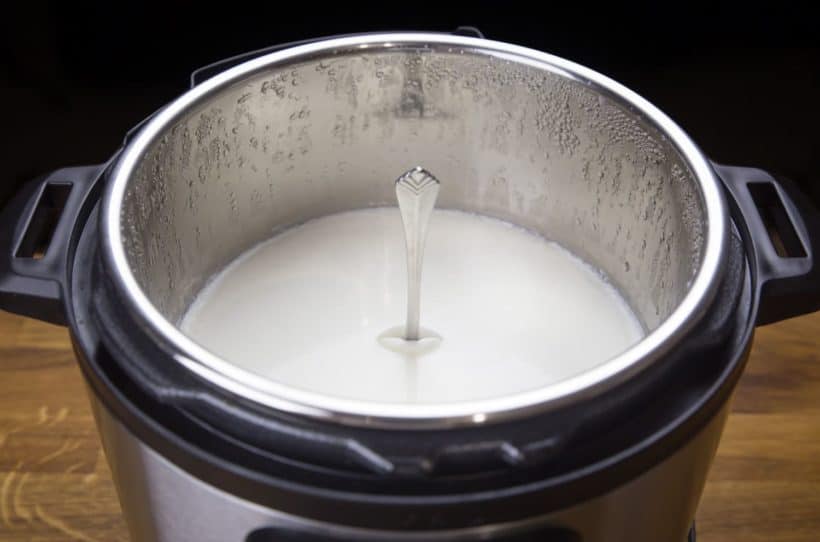
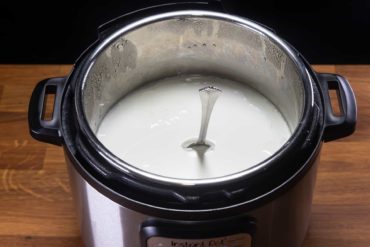
Ta da!! Your Instant Pot Yogurt has successfully set!
Once the yogurt has reached the desired tangy level, remove the inner pot of yogurt and place it in the fridge for a few hours to stop the incubating process. The yogurt will also thicken a little.
Now (or before serving) is a good time to mix in whatever flavoring you want.
You’ve just made homemade yogurt in Instant Pot! How easy was that?! 😀
Give yourself a pat in the back & enjoy!~ 😉
Optional – Strain Yogurt
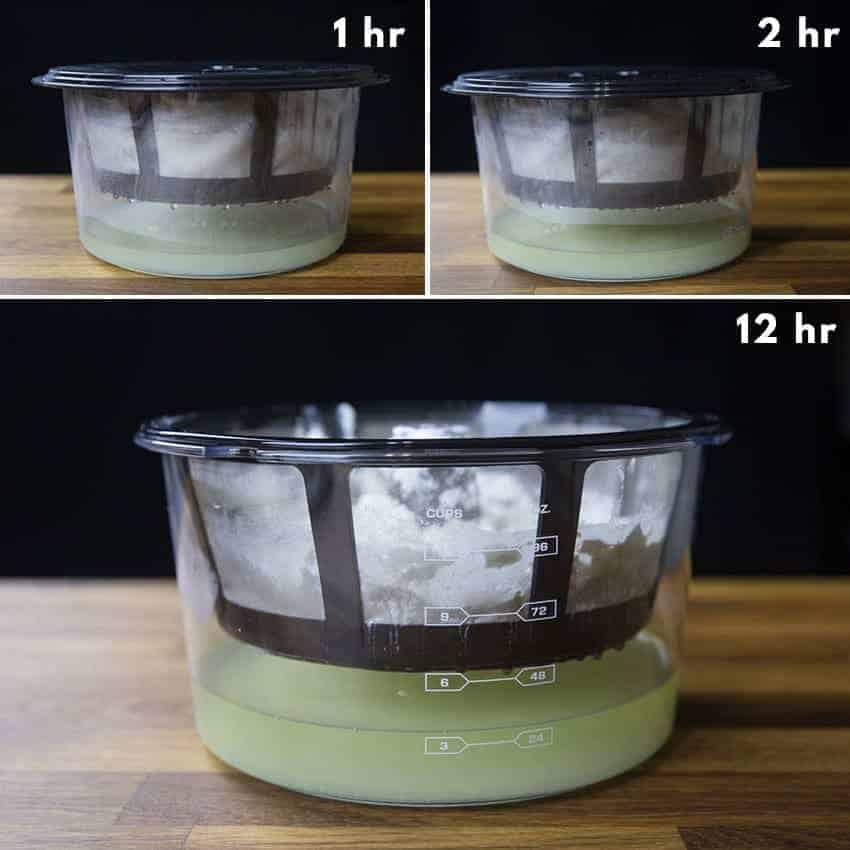
If you prefer a thicker yogurt, use a Yogurt Strainer to strain the yogurt (as shown in below photo).
*Pro Tip: the longer you strain = the thicker it becomes.
- 1 Hour – about 1.5 cup (375ml) of whey was separated from 2L of yogurt by the strainer
- 2 Hours – about 2.5 cups (625ml) of whey was separated from 2L of yogurt by the strainer
- Overnight – about 4 cups (902ml) of whey was separated from 2L of yogurt by the strainer. You are pretty much left with a little over 1L of Greek yogurt after straining overnight.
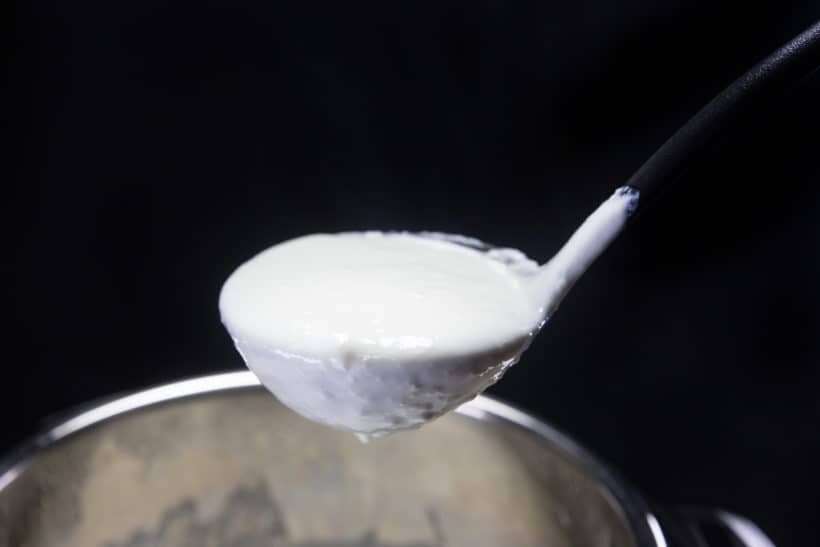
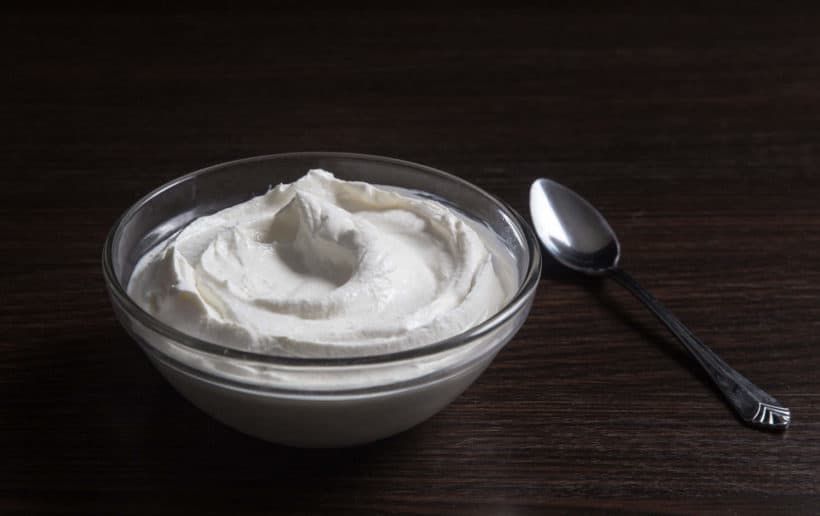
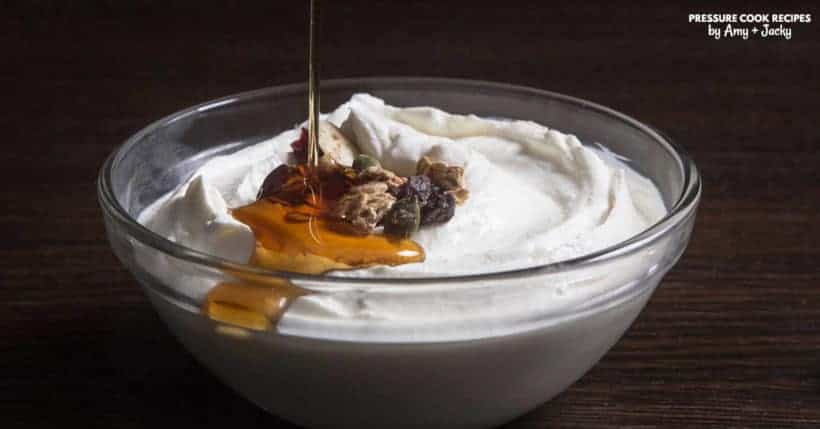
Check out how Thick, Creamy, & Smooth the Instant Pot Yogurt becomes!!
Enjoy your Instant Pot Cold Start Yogurt!~ 🙂
Tools for Instant Pot Cold Start Yogurt
Instant Pot Cold Start Yogurt (No Boil Method)
Ingredients
- 2 litres (½ gallon) Fairlife ultra-filtered whole milk
- 2 tablespoons (32g) yogurt with active bacterial cultures
Equipment
♥ Share this Recipe so We can create more yummy recipes for you. Thank you 🙂
Instructions
- Optional Preparation – Sterilize Equipment: Place 2 cups cold water + trivet in Instant Pot. Place all yogurt making equipment - silicone spatula or whisk (no plastic/wooden handles), Pyrex glass measuring cup, and measuring spoon in Instant Pot. Close the lid and move the Venting Knob to Sealing Position. Sterilize at High Pressure (press Manual/Pressure Cook button) for 3 minutes + Natural Release. After sterilizing the equipment, air dry them on a clean rack.
- Prepare Yogurt Starter: Add 2 tbsp (32g) Yogurt (with active bacterial cultures) and 1 cup (250ml) ultrafiltered milk in Instant Pot inner pot. Use the whisk to mix well.
- Make Instant Pot Ultrafiltered Yogurt: Pour 7 cups (1750ml) ultrafiltered milk in the inner pot. Use the whisk to mix well. Close lid (Venting Knob position doesn’t matter).Yogurt Incubation: Press the Yogurt Button & use the Yogurt Normal Function to incubate the yogurt. Adjust incubation time to 8:30 hours – 12:30 hours depending on how tangy you like your yogurt. You can open the lid for a taste test once the yogurt is set (roughly 6.5 hours).*Pro Tips:i) Longer incubation time = tangier yogurtii) The timer will count up instead of count down when the incubating process beginsiii) Don’t disrupt the fermentation process by moving the Instant Pot or opening the lid. Wait until yogurt is set (roughly 6:30 hours) before opening the lid.
- Stop the Incubation Process: Once the yogurt has reached your desired tangy level, remove the inner pot of yogurt and place it in the fridge for a few hours to stop the incubation process. The yogurt will also thicken a little. Now (or before serving) is a good time to mix in flavorings.
- Optional - Strain Yogurt: If you prefer a thicker yogurt, use a Yogurt Strainer to strain the yogurt.*Pro Tip: the longer you strain = the thicker the yogurt becomes.1 Hour – about 1.5 cup (375ml) of whey will separate from 2L of yogurt2 Hours – about 2.5 cups (625ml) of whey will separate from 2L of yogurtOvernight – about 4 cups (902ml) of whey will separate from 2L of yogurt. You will have a little over 1L of Greek yogurt after straining overnight.
Notes
Nutrition
More Instant Pot Yogurt Recipes You’ll Love
Instant Pot Yogurt (Traditional Boil Method)
*Use this method & recipe if you’re using regular milk
All Our Pressure Cooker Recipes
*Disclosure: We are an Amazon Influencer/Amazon Associate. This means that if you decide to purchase items or services on Amazon through our links on Pressure Cook Recipes to Amazon, Amazon will send a small commission to us at no additional costs to you. Thank you!
