Instant Pot Bread #15
Recipe by Amy + Jacky | PressureCookRecipes.com
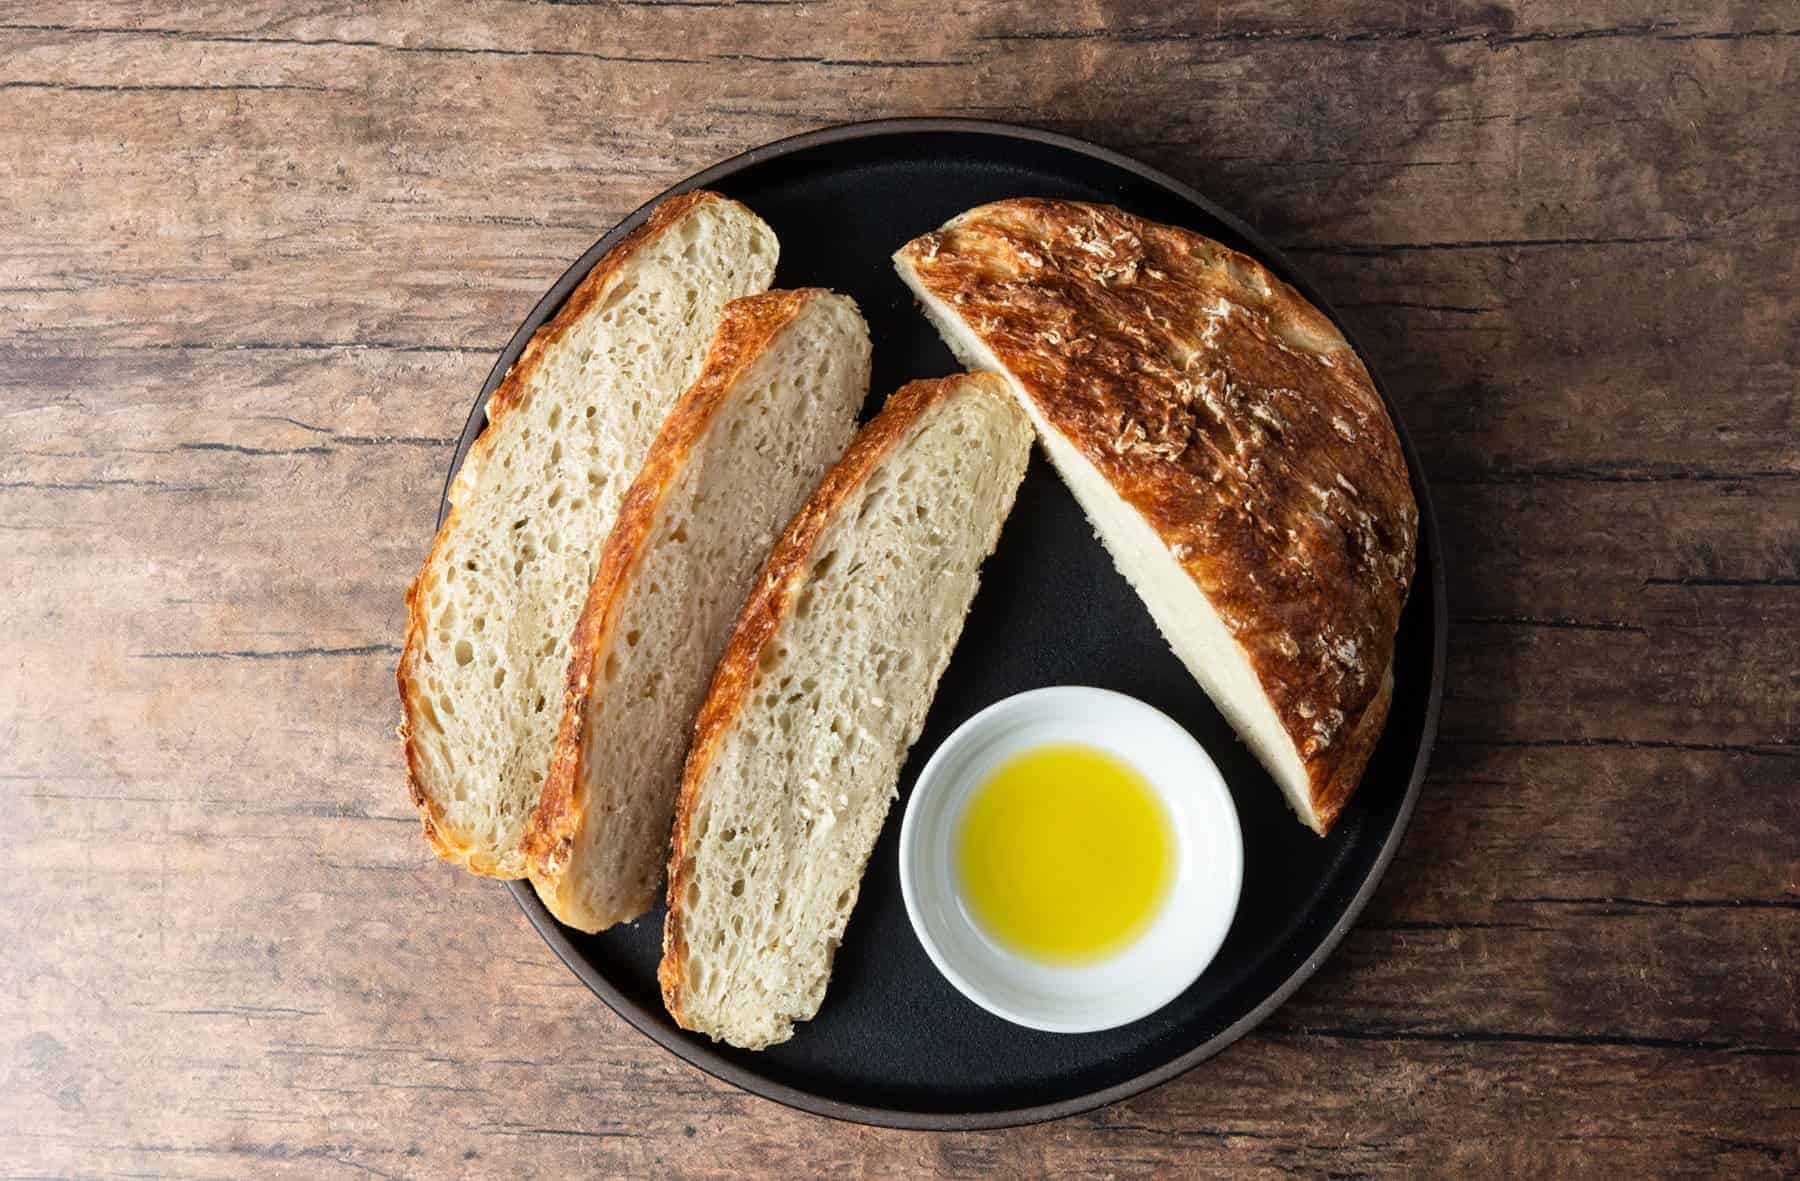
Learn how to make No Knead Instant Pot Bread #15 (Pressure Cooker Bread) with 4 simple ingredients! This easy bread recipe is developed based on 15 bread experiments. Easiest, foolproof method that yields tasty crusty homemade artisan bread!
Ingredients
- 400 grams (3¼ cups) King Arthur all purpose flour (plus extra for dusting)
- 4 - 8 grams (1-2 tsp) instant yeast (refer to time chart in Step 1)
- 8 grams (1.5 tsp) fine table salt
- 300 ml (1¼ cup) cold water (may need more depending on your flour)
Instructions
- Make Bread Dough: In a large mixing bowl, add in 400g all-purpose flour, then 8g fine table salt. Mix them very well. Add in instant yeast, and mix them very well.*Pro Tip: If you're using Active Dry Yeast, please see recipe notes section.Yeast Rising Time Chart:Option 1 - Good Flavor (2 - 3 hrs on countertop): use 6g – 8g Instant Yeast or 7.5g – 10g Dry Active YeastOption 2 - Middle Ground (2 hrs on countertop + 12 hrs in Fridge): use 4g – 6g Instant Yeast or 5g – 7.5g Dry Active YeastOption 3 - Best Flavor (2 hrs on countertop + 24 hrs in Fridge): use 4g Instant Yeast or 5g Dry Active YeastPush all the flour mixture to the side by creating a well in the middle. Gradually pour 300ml cold water into the well, then mix the flour until well incorporated to form a wet sticky dough.*Pro Tip: Make sure all the flour is mixed in. Depending on your flour, you may need another 30ml of cold water.Cover the dough with a lid or food wrap to retain moisture.
- Rising Dough: Let dough rise to almost double in size for 2 hours at 75°F (24°C) to 85°F (29°C). Then, you can continue to step 3 or place it in the fridge for 12 - 24 hours.Option to Rising Dough in Instant Pot: If your kitchen is cooler or warmer, you can use Instant Pot Yogurt Low or Less setting (Temperate: ~72°F - 76°F) or Sous Vide function (set Temperature to 80°F). Grease the bottom of the inner pot with some oil. Add dough in Instant Pot, then cover Instant Pot with a lid. Wait & let the dough rise until it doubles in size (~2 - 3 hours).*Pro Tip: The temperature affects the time it takes for the dough to rise, and the rising time determines the bread's flavor. Generally speaking, the longer you let the dough rise, the more flavor it develops.
- Shape Bread Dough (see photo): Lightly dust your work surface with some flour. Place the dough on the dusted surface.*Pro Tip: To prevent the dough from sticking to your hand, wet your hand with a bit of water before you fold the dough.Fold the bottom part of the dough up, then pull and stretch the top part of the dough and fold it down. Flip the dough over and roughly shape it into a round "ball" shape. Grease the bottom of a stainless steel container with some oil, then place the dough in the container. Cover the container with a lid.
- Final Proof Bread (Optional): Let the dough rest and proof for 1 to 2 hours at 75°F (24°C) to 85°F (29°C).*Note: This final proofing step is recommended. You can also proof the bread in Instant Pot using "Yogurt Low or Less setting" or "Sous Vide function" (see Step 2 for instructions).
- Pressure Cook Bread: Add 1 cup (250ml) cold water to the Instant Pot. If you’re using a closed container with no removable bottoms, place the container directly in the water. *Pro Tip: If you’re using a pan with a removable bottom, add a trivet and place the pan on top of it. Pressure Cook at High Pressure for 40 minutes + 10 minutes Natural Release. Open the lid carefully.*See Oven & Air Fryer Lid Instructions & Comparison Photos below
- Uncover & Bake Bread: Soak up the water on the lid, then remove the lid. Measure the bread's temperature with a meat thermometer (core should be 180°F – 190°F). Option 1 - Oven Method: Place the bread container in a 450°F oven for roughly 12 - 18 minutes until the bread crust is beautifully brown.Option 2 - Air Frying Method: Press the “Broil” button, set the Temperature to 400°F, and Cooking Time to 20 minutes. Place the air fryer lid on the Instant Pot. It takes roughly 20 - 25 minutes + preheat time. You can open the lid to check the progress.
- Cool & Slice Bread: Remove the bread from the container. Place the crusty bread on a wire rack and let it cool down for at least an hour before slicing into it. You did it!! You made artisan bread in Instant Pot! Enjoy~
Video
Notes
- Cup Ingredient Measurements: We've included the cup measurements as a rough estimate for reference. For this bread recipe, it's best to use a kitchen scale and follow the exact measurements when possible.
- Instant Pot vs. Air Fryer Lid vs. Oven: we like the oven-baked bread the most (see below for instructions & comparisons); while the Instant Pot & Air Fryer Lid methods yielded similar results.
- Avoid Extreme Conditions: avoid high or low temperatures when rising/proofing the dough, using super old yeast, or drastically throwing off the ingredients' balance.
- Yeast: Saf instant yeast is a bit more beginner-friendly for a higher success rate than active dry yeast.
- Activating Active Dry Yeast: we recommend activating the active dry yeast first. In a small mixing bowl, add in the active dry yeast and 2 tbsp (30ml) 110°F lukewarm water. Cover for 5 - 10 mins. When it starts foaming, it's ready to use.
- Salt: Too much salt can affect yeast growth, but the ratio we're using will work fine. That's why we're mixing them separately to further foolproof this recipe.
- Containers: Springform pan or removable bottom cake pan is not ideal for this bread recipe, but they’ll work.
- Cover Container: Best to use a lid to cover your bread container. As an alternative, you can use aluminum foil to cover it.
- Dusting Flour: If you want a little rustic look to your bread, you can dust the dough with a little flour just before baking/cooking.
- Storage Tips: You can store the bread at room temperature for 2 to 3 days. You can also place the sliced bread in a Ziploc bag, then store them in the freezer for 3 to 6 months.
- Sticky Dough Clean Up Tips: Soak the bowls & utensils in cold water with a little bit of soap for 10 mins to make it easier to clean. Don't use hot water because it'll make it even stickier.
Nutrition
Calories: 184kcal | Carbohydrates: 38g | Protein: 5g | Fat: 1g | Saturated Fat: 1g | Sodium: 391mg | Potassium: 58mg | Fiber: 1g | Sugar: 1g | Calcium: 8mg | Iron: 2mg