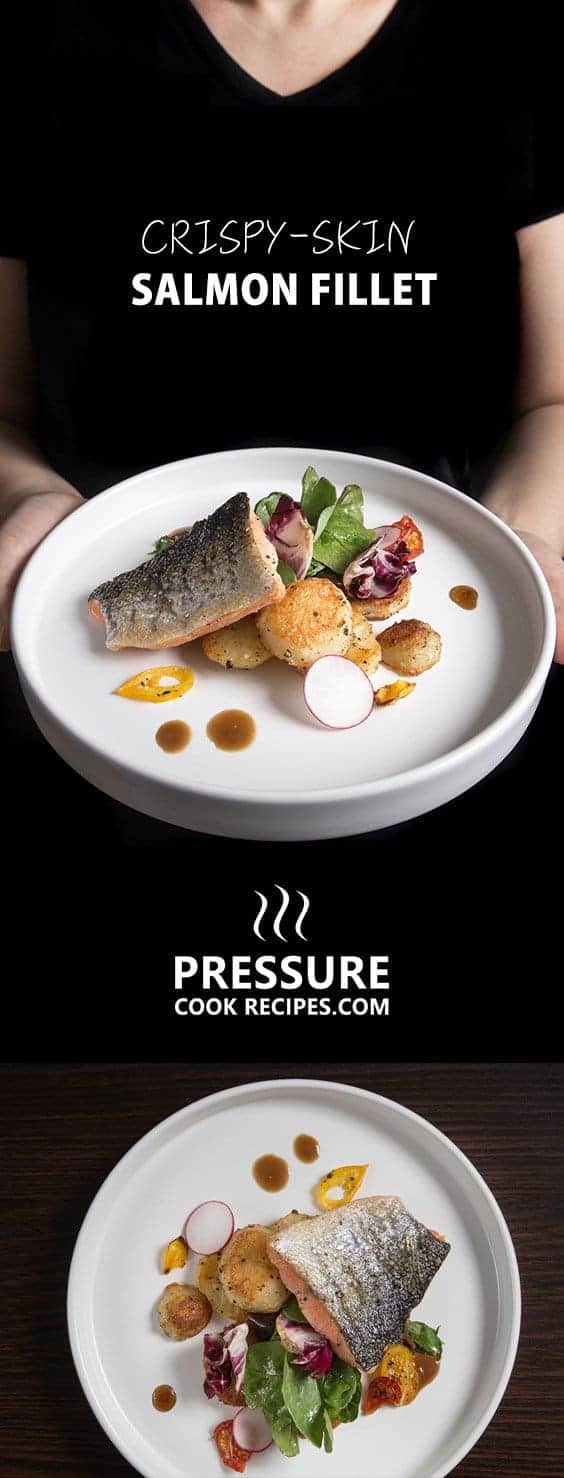
Got frozen salmon fillets? Make this 15 mins weeknight-friendly meal – Crispy-Skin Pressure Cooker Salmon Fillet Recipe. Easy, flavorful, and healthy! 😀
Salmon fillets cook quickly even on stovetop. Easy to overcook and end up with a piece of chalky, dry, bland fish with soggy skin. So, why use a pressure cooker to cook salmon fillets? Are we out of our minds?
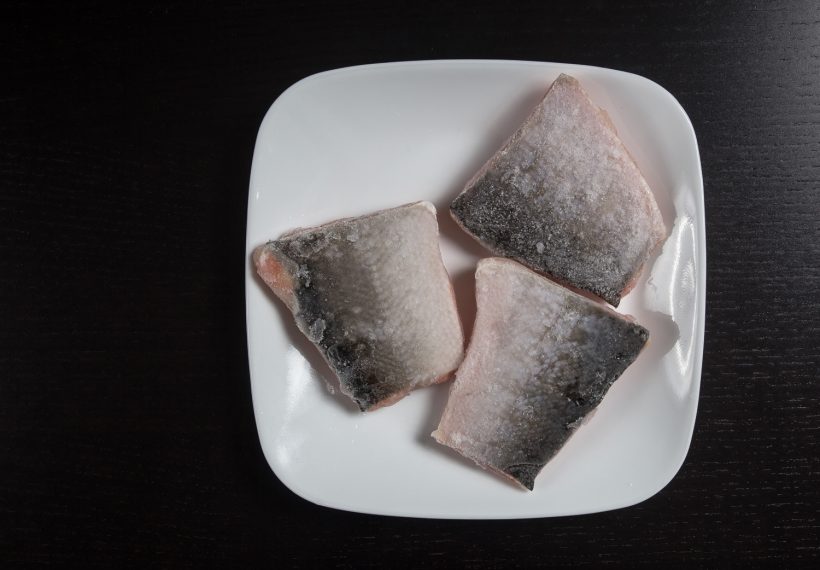
While we were grocery shopping the other day, these big packs of frozen salmon fillets caught our eyes (they were on sale!) What perfect freezer stuffers. Something we can grab out of the freezer and make a quick, simple meal on those long busy days.
We normally thaw out the salmon fillets before crisping the skin. But, what if we throw these rock hard, ice cold salmon fillets directly into our Instant Pot Pressure Cooker? Would they overcook in a flash? What would the texture be like? How would it taste?
Let’s find out!
Updated 1/25/2017
We pressure cooked the salmon fillets at Low Pressure for 1 – 3 minute(s), then Quick Release.
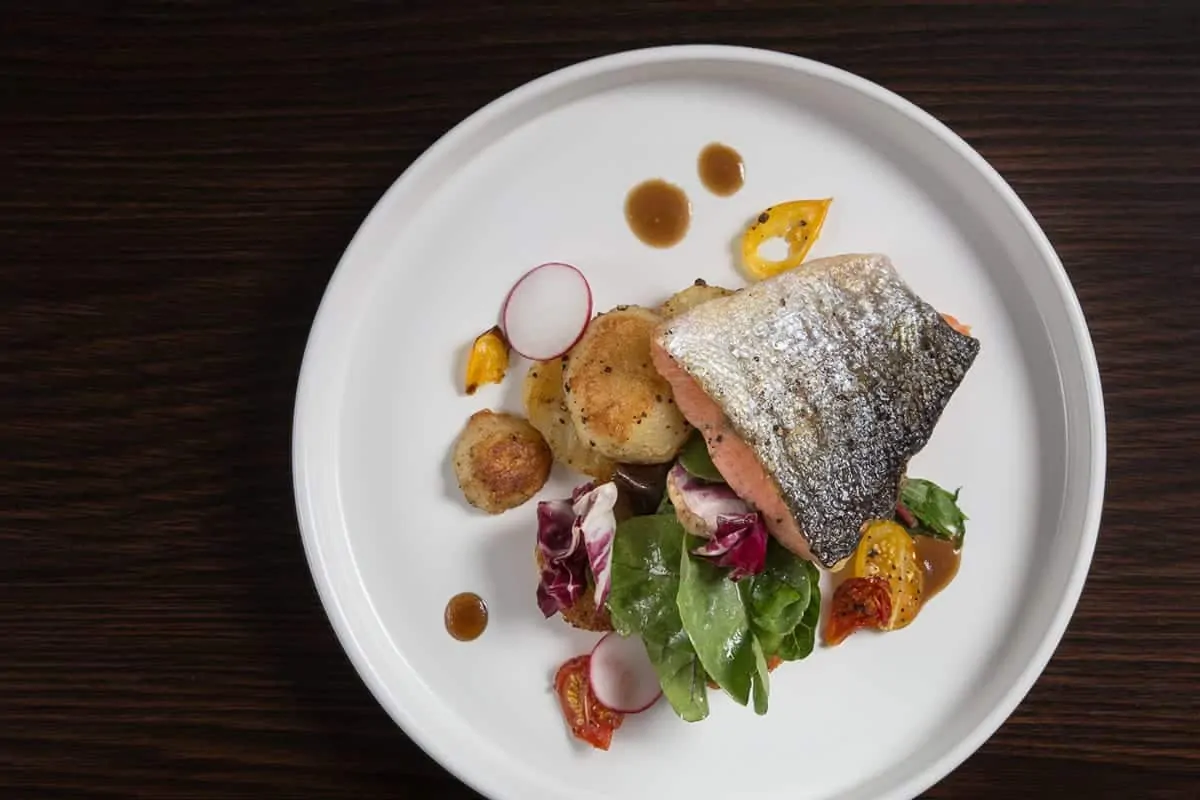
The results were decent – flavorful, moist and tender (especially when it was rock hard minutes ago!). All we needed was to crisp up the skin on the skillet.
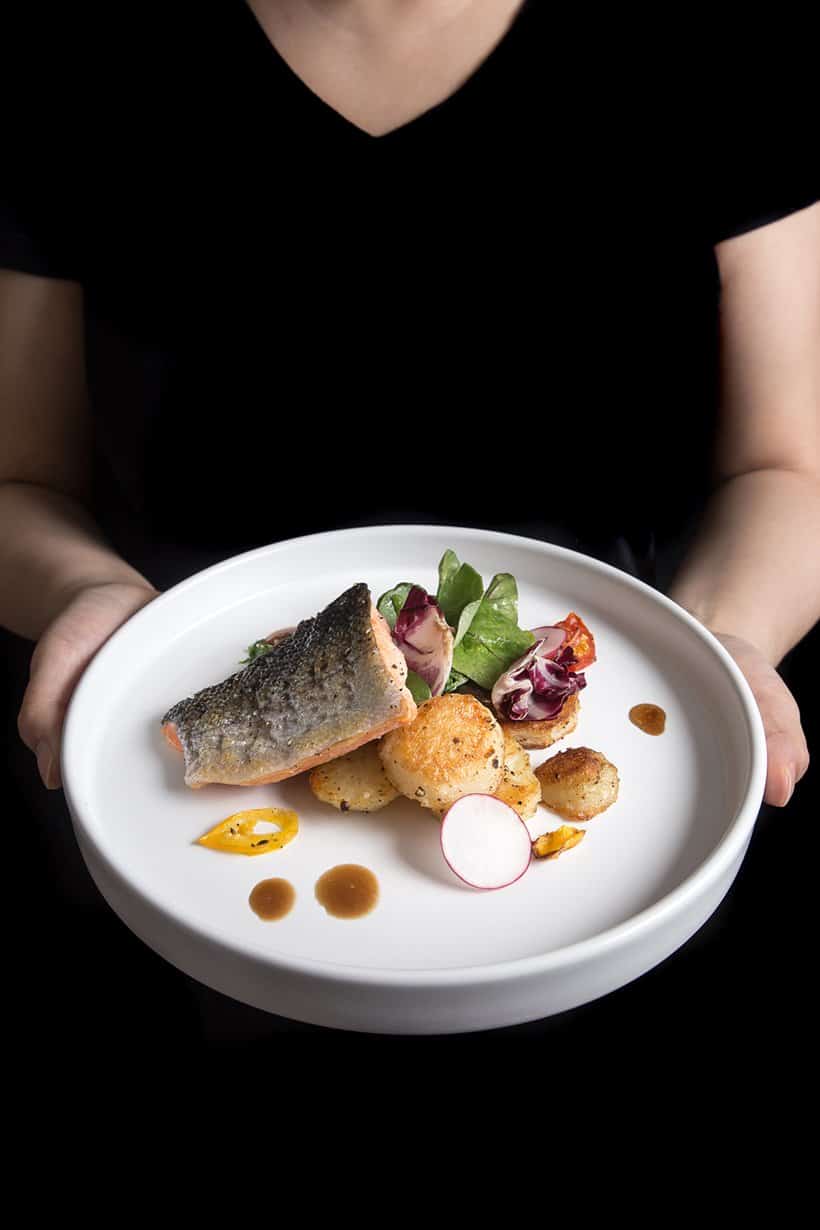
So, make this recipe if you’re looking for something: quick & easy (on the table in 15 mins!), healthy, and flavorful. We like to turn this Crispy-Skin Pressure Cooker Salmon Fillet into a salad, appetizer, or pair it with rice to serve as a main dish.
Ingredients for Crispy-Skin Pressure Cooker Salmon Fillet
- Frozen salmon fillets (1 inch thick)
- Olive oil
- Cold running tap water
- Kosher salt and Ground black pepper
Tools for Crispy-Skin Pressure Cooker Salmon Fillet
Tips for Crispy-Skin Pressure Cooker Salmon Fillet
1. Can I Cook Fresh or Thawed Salmon Fillet in the Pressure Cooker? This Pressure Cooker Salmon Recipe is developed specifically for frozen salmon fillets straight out of the freezer. If you have fresh or thawed salmon fillet, you’ll get better results by cooking it directly on a skillet.
2. Non-Stick Skillet: Use a non-stick skillet if your salmon skin is sticking to the skillet.
3. No Skin Salmon: If you don’t like skin on your salmon, remove it after pressure cooking as it protects the salmon from overcooking. You may have to increase the pressure cooking time by an extra minute and skip Step 4 (crisping the salmon skin on the skillet).
4. Pat Dry the Salmon Fillet: Be sure to pat dry all sides of your salmon with paper towel after pressure cooking. You’ll achieve better results this way. 🙂
5. What to do if my salmon fillets are thicker than 1 inch? Since cooking in the pressure cooker is mostly dependent on thickness, you will have to increase the pressure cooking time by 1 – 2 minutes.
Crispy-Skin Pressure Cooker Salmon Fillet
Ingredients
- 2 frozen salmon fillets (1 inch thick)
- 1 cup (250ml) cold running tap water
- 2 tablespoons olive oil
- Kosher salt and Ground black pepper to Taste
Equipment
♥ Share this Recipe so We can create more yummy recipes for you. Thank you 🙂
Instructions
- Pressure Cook Salmon Fillets: Pour 1 cup of cold running tap water in Instant Pot pressure cooker. Place the Frozen Salmon Fillets on top of a steamer rack. Close the lid and pressure cook at Low Pressure for 1 - 3 minute(s), and Quick Release. Turn off the heat. Open the lid carefully. Remove the salmon fillets and pat them really dry with paper towels.
- Preheat a Skillet: Heat a skillet over medium high heat.
- Season Salmon Fillets: Add a tablespoon of olive oil on the salmon skin. Season generously with kosher salt and ground black pepper.
- Crisp Salmon Skin: Make sure the skillet is hot to prevent the skin from sticking to the skillet (See Notes). Place the salmon fillet skin side down for 1 – 2 minutes.
- Serve Salmon Fillet: Remove the salmon fillets from the skillet and serve with your favorite side dishes. It is excellent with salad and rice.
Video
Notes
Nutrition
Looking for more quick & easy pressure cooker meals?
All Our Pressure Cooker Recipes
*Disclosure: We are an Amazon Influencer/Amazon Associate. This means that if you decide to purchase items or services on Amazon through our links on Pressure Cook Recipes to Amazon, Amazon will send a small commission to us at no additional costs to you. Thank you!